Demo: Body Schema Learning
This demo shows the model learning and model selection as described in the paper “Unsupervised Body Scheme Learning through Self-Perception” (presented at ICRA 2008) and its successor “Adaptive Body Scheme Models for Robust Robotic Manipulation” (presented at RSS 2008).
In this demo, we will load a 4-DOF robotic manipulator in the simulator, and show how our algorithm learns the body schema from scratch, only from the action signals sent to the robot and the observed 6D poses of its body parts. The used robot model will contain an extra joint in the middle of the manipulator, that we can then use to “bend” the robot, such that the previously learned body schema gets outdated. Our model selection algorithm will detect this mismatch, and re-start model selection. This tutorial will guide you through the demo step-by-step.
Step 1: Installation
- Install the system dependencies for zora (see Requirements)
- Download the latest version of zora (from outside our lab, download the Zora tgz package from gitweb), or snapshot from 10/23/2009.
- Compile zora (Compilation)
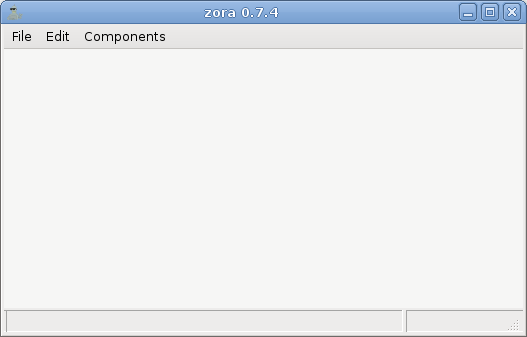
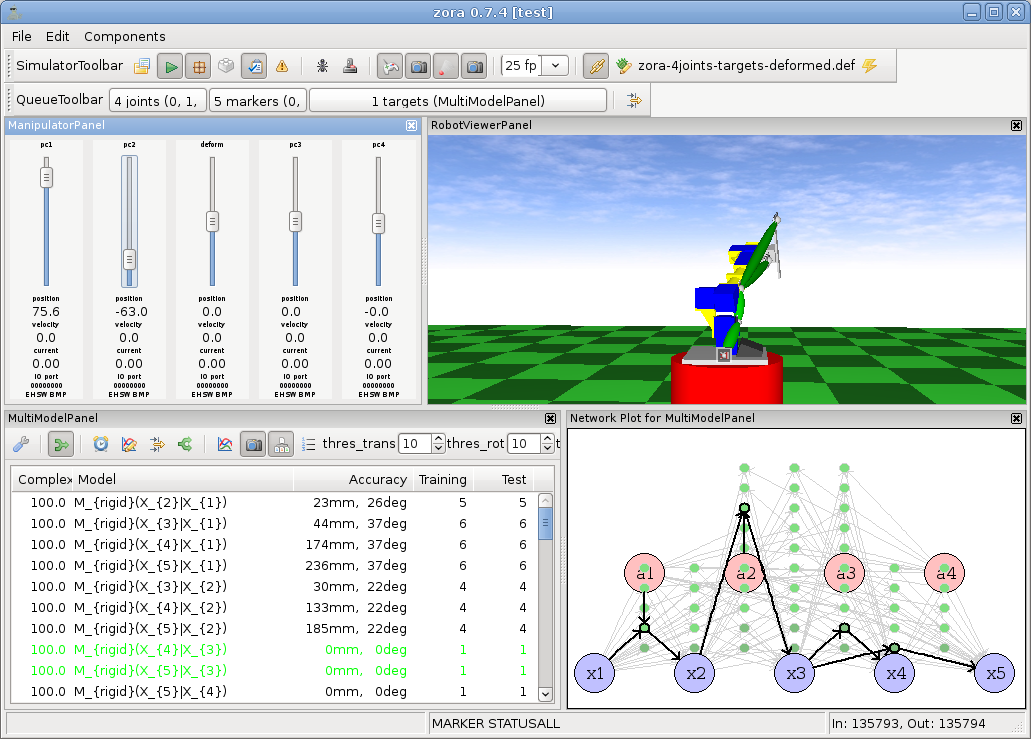
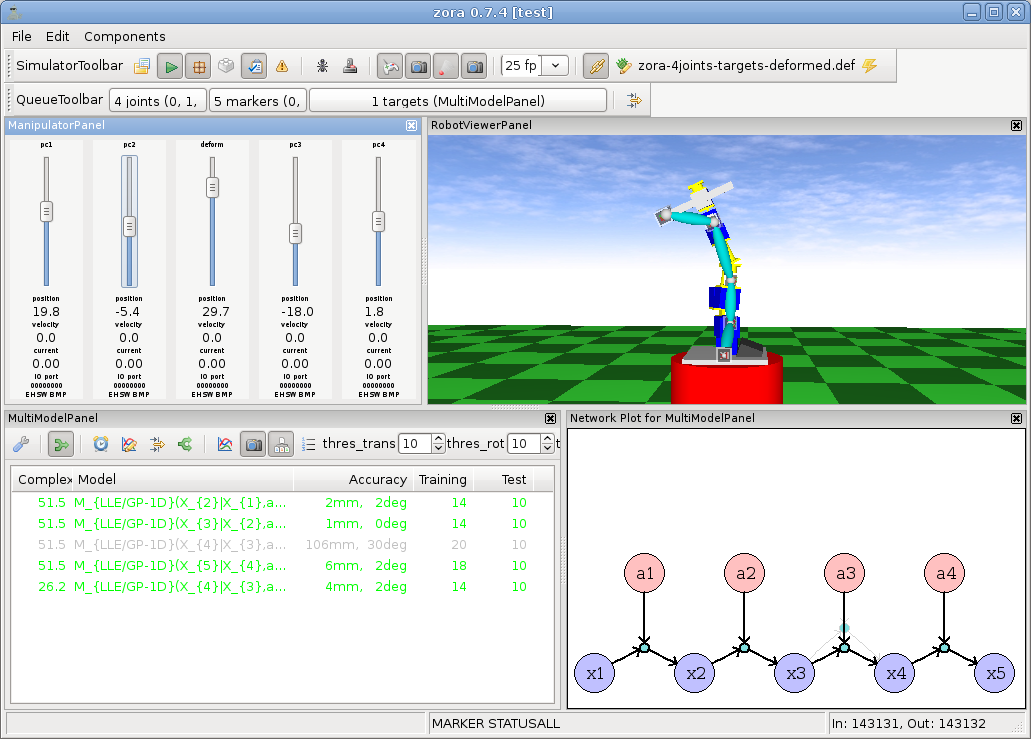
- Start zora (Startup). You should see a window that looks similar to this one:
Step 2: Add the required components
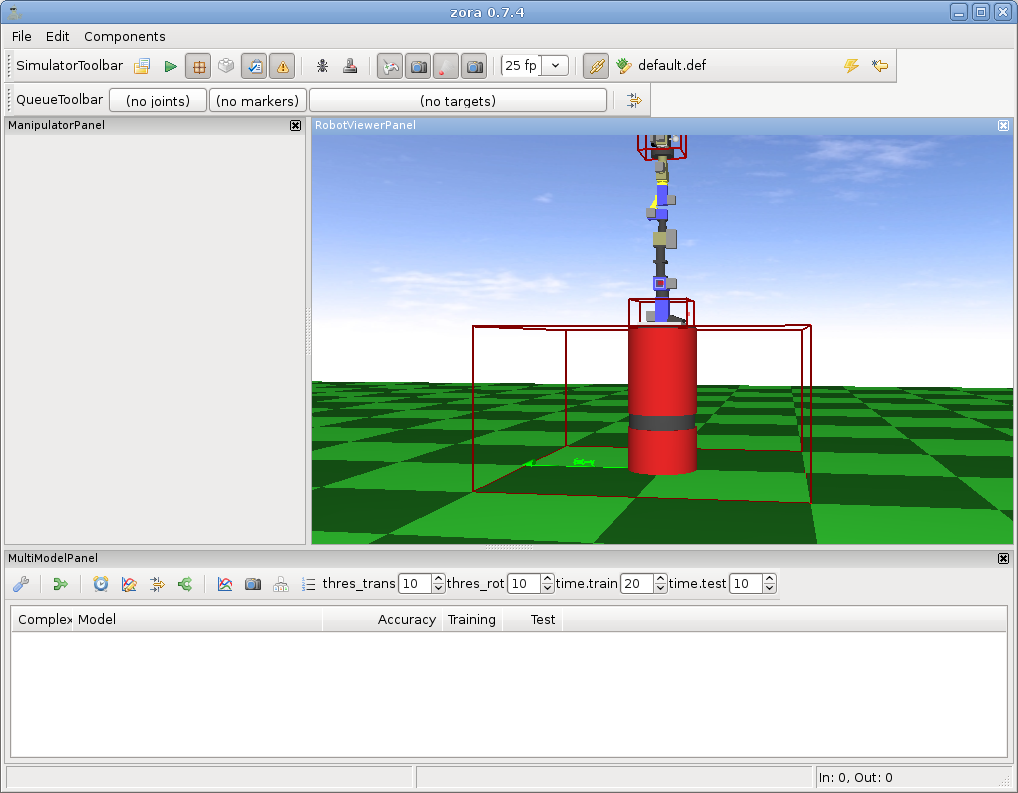
- Add a simulator toolbar by clicking on Components → Robot → Simulator Toolbar. This component will simulate the manipulator robot. It listens for ROTATE commands, and sends out messages containing the current configuration (STATUSALL) and the observed poses 6D of the various markers attached to the robot model (MARKER). The simulator starts in paused mode, so initially you won't see any messages being sent out.
- Add a 3D robot viewer by clicking on Components → Robot → 3D Robot Viewer Panel (the first one will place the panel in the center of the window). This will create the viewer. You can navigate with the mouse by dragging.
- Add a manipulator panel by clicking on Components → Robot → Manipulator Control Panel. This panel can send out ROTATE messages that make the (simulated) robot move.
- Add a message queue toolbar by clicking on Components → Robot → Message Queue Toolbar.
- Add a multi model panel by clicking on Components → Body Schema Learning → Multimodel Panel.
- Your zoracontrol should now look similar to this one:
Step 3: Running the simulator
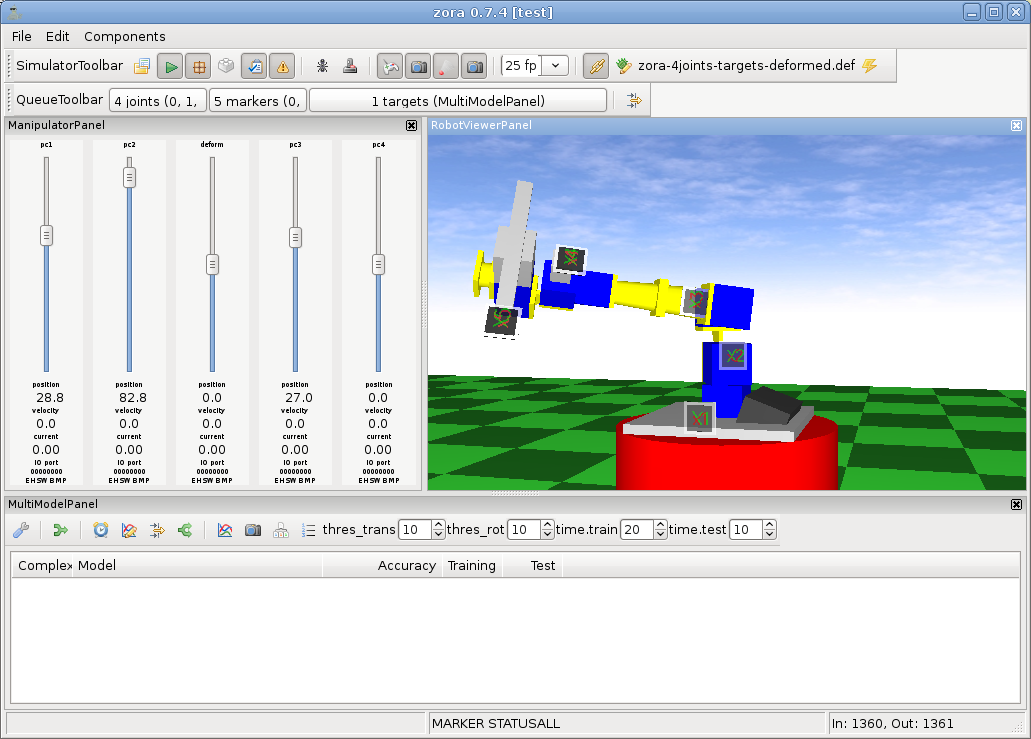
- In the simulator toolbar, click on the first button (labelled “load recent robot model”), and in the popping up menu on “from file”. Open the file rss08/zora-4joints-targets-deformed.def (in the folder zora/data/robotmodels). The displayed image in the viewer should now change to a 4-DOF manipulator. You can zoom into the image using the scroll wheel on your mouse.
- Now enable the simulator, by clicking on the “play” symbol in the Simulator Toolbar. The simulator will now send out messages containing the joint configuration (STATUSALL) and observed marker positions (MARKER). I suggest to disable collision checking of the simulator, by clicking on the “enable/disable collision detection” in the simulator toolbar.
- In the manipulator panel, 5 slider should appear. Each of them corresponds to one simulated joint of the robot. Drag the sliders to see the robot move.
Note that this special robot model has actually 5-DOF: between the second and the third joint, a special “deformation” joint was inserted. It basically behaves like a rotational joint, that we want to use to bend the robot. So, at the moment, only use the first two and the last two sliders to move the “actual” joints of the robot.
Step 4: Setting up queue toolbar
As a next step, we need to “mask out” this additional deformation joint for the body schema learner. We do this by using the queue toolbar. The multi model panel will now only receive the joint configuration of the real joints.
- Click on ”(no joints)”, and click on “select all”. Then, de-select joint 2.
- Click on ”(no markers)”, and click on “select all”.
- Click on ”(no targets)”, and select “MultiModelPanel”.
Step 5: Setting up the body schema learner
- Click on the settings button (first button) in the multi model panel, then select a number of features:
- Action signals
- Actions from STATUSALL
- Real-time
- Suppress too similar samples
- Data sources
- Permutation sources 0-dim
- Permutation sources 1-dim
- Data models
- GP models 0-dim
- GP models 1-dim
- Maintenance
- Restrict to targetMarker >= referenceMarker (strictly not required, but reduces the number of evaluted models by the factor of 2).
- Enable “show current bayesian network”
- Enable “visualize”
- Finally, click on “receive data”.
Step 6: Train the initial body schema
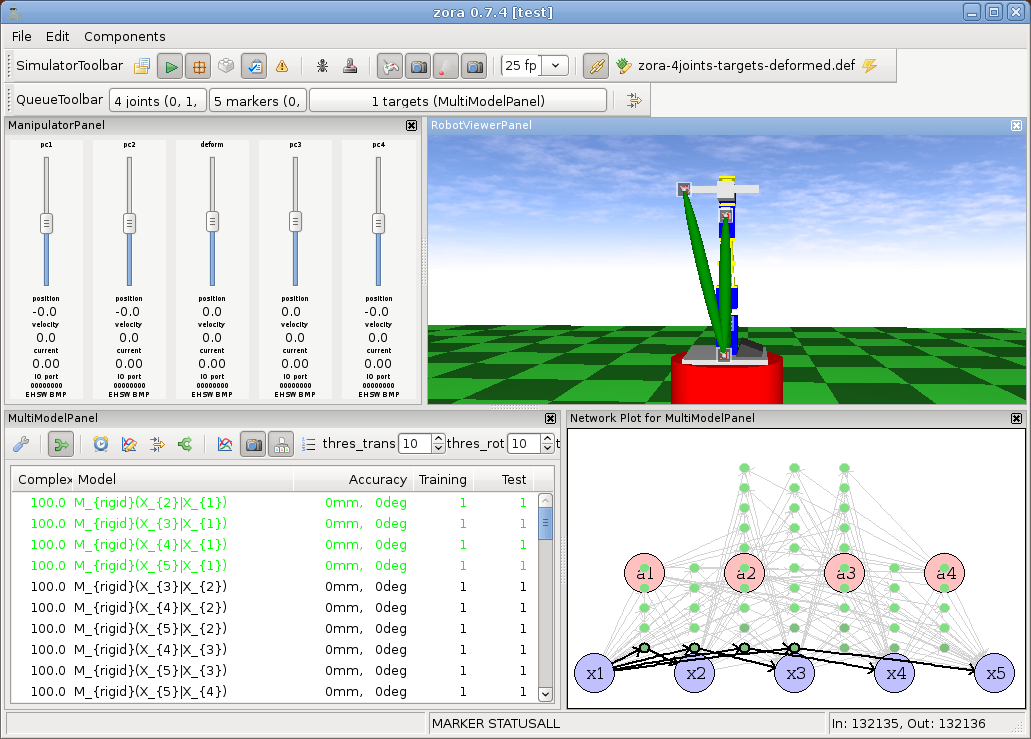
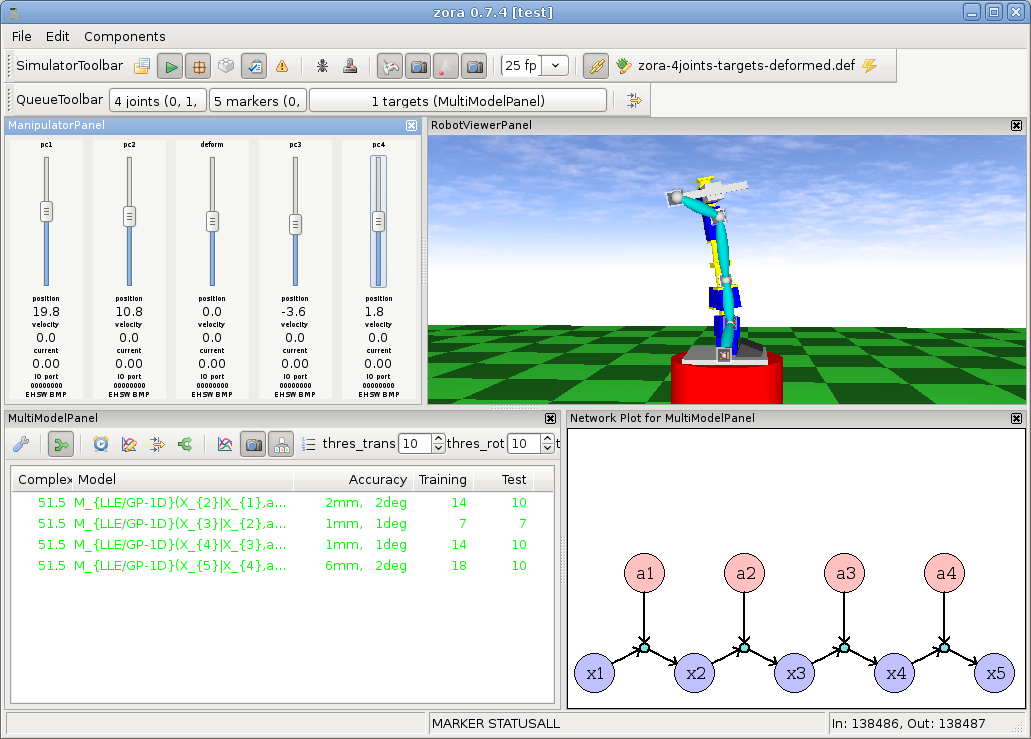
Now we perform manually some random motor babbling, by moving the 4 rotational joints (not the deformation joint / the middle one) to random positions. During movement, the multi model toolbar will collect data points and train the GP models.
The model selection will wait until all models have received enough data points, the body schema will settle on the selected models and remove the unused ones.
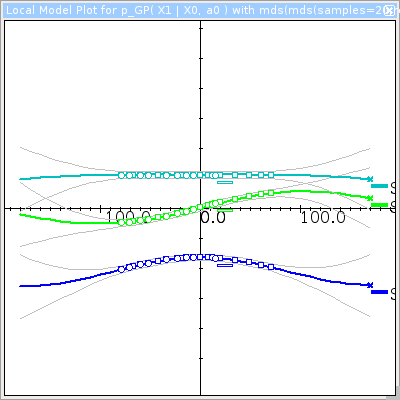
Note that at any time, you can inspect the data underlying a model, and the pose prediction of the model by double clicking on one of the models in the list.
Step 7: Deform the robot
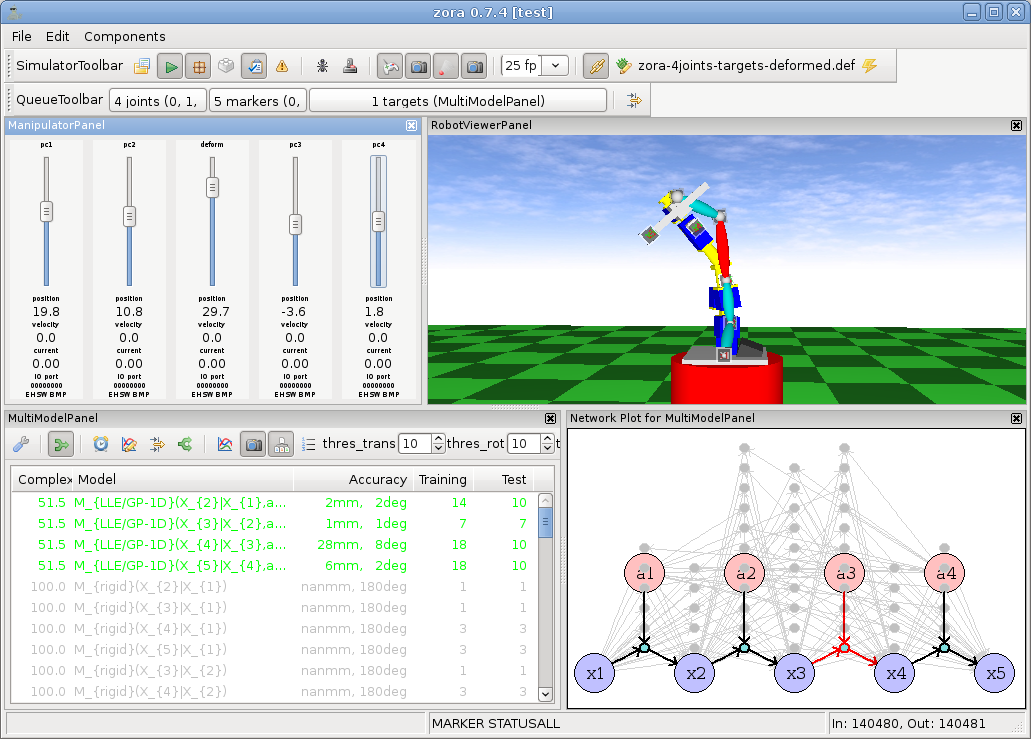
As a next step, we will deform the robot using the 3rd joint (called deform, in the manipulation panel). This will decrease the prediction accuracy of the previously learned body schema significantly. As a consequence, a set of new candidate models will be created, and each of these models will collect new training data from the modified body. The previously learned models compete with the new learned models on the same test set.
Re-learning will begin immediately, and after some new motor-babbeling, model selection will again converge on a body schema where the model between X2 and X3 was replaced by a new one.
Remarks
I hope that this tutorial demonstrates the functionality and the idea behind the body schema bootstrapping and the life-long adaptation process as it is implemented in our software. If you have any trouble following this tutorial/demo, please drop me an email.
Publications
- J. Sturm, C. Plagemann, W. Burgard. Adaptive Body Scheme Models for Robust Robotic Manipulation. In Proc. of the International Conference on Robotics: Science and Systems (RSS), Zurich, Switzerland, June 2008.
- J. Sturm, C. Plagemann, W. Burgard. Unsupervised Body Scheme Learning through Self-Perception. In Proc. of the IEEE International Conference on Robotics and Automation 2008 (ICRA), Pasadena, California, May 2008.
last modified on 2009/10/23 10:54

